Making Old……New

Okay so before my husband and I came out here I went a little crazy with projects. This one I am most proud of! When I went off to college my parents gave me their kitchen table and we found the chairs at garage sales. This table has been through a lot and seen a lot. Four girls living together it’s seen some ramen noodles and pizza but mostly booze and drinking games. We even brought it in campus to go tailgating and play games with. It earned its stripes and by that I mean pink alcohol stains. When we got married and moved in together the partying stains really didn’t fit anymore. So two weeks before we moved I packed the table and chairs in my car and headed to my parents house to get to work. The best part, I got to spend 3 days at my mom and dad’s house with them. Which is rare that it was just me. I am one of 6 kids and 9 grandchildren. So I loved getting that time with my parents!

I want to apologize in advance for the picture quality. I didn’t know I would be posting them on a blog someday!

I went to Fleet Farm ( I love fleet farm if you have never been. GO) and got brushes, primer, and paint. My parents already had tape, stain, and sand paper.

table and chairs 1

Unfortunately I don’t have a before picture of the table but this will give you a good idea of the color it was when we started. My first step was to sand any remaining finish off the table and chairs. You can see we taped the edges off because that was going to be stained.

table and chairs 6

I decided to paint the legs and underside of the table with paint and stain the top for a clean contrast. I chose an egg white color for paint. After the painting was done and dried my dad and I stained the top. My dad loved this part because he got to teach me everything he knows about staining. But mostly he just likes to talk and have someone listen 🙂

table and chairs 7

This is the final product of the table. Which I LOVE. It’s just beautiful.

table and chairs 3

I really liked having miss matching chairs. Two of the chairs matched and the other two were very similar. The two similar ones were both painted already and they were the biggest pain to get all of that on. My dad did some serious sanding work on them. After he got the paint off and got a good look at the chairs he was able to really take a look at them. He thinks one of them is from the 40’s!!!! He would know, he is from the 40’s 🙂 I think that is so cool and just thought of all the different things that chair has seen.  Or the asses its supported. Am I weird?

table and chairs 4


All the chairs took 2 coats of primer. The dark ones above were so dried out they just soaked the primer up. They are my favorite because they have upholstered seats. So off to Jo-Ann fabrics my mom and I went. There were so many choices! I am not good with tons of choices because I just felt so much pressure to pick the perfect fabric. Anyone else feel like this?

table and chairs 5 table and chairs 8

So I chose this yellow pattern and I am so glad I did because I feel like to goes so well with the stain and white look. I am pretty lucky because my mom is quite the sewing lady. So she took the old fabric off and made a little pattern from it. (Which you totally would not need to do, she is pretty meticulous when it comes to sewing.)  Then I called up a family friend that I knew had a nail gun just to make the process easier. We had the seats all ready to go and held the fabric on there with regular staples till we got there. The one thing I learned from this is that you want to PULL the fabric really hard when you are stapling it because otherwise if the fabric isn’t tight on the seat it will get kind of baggy. So that is my tip for you on this one.

Ready for the final results?? I hope you love it!

table and chairs 9


I hope you like it as much as I do. I am currently working on it eating milk and cookies while writing this!!

I have to say thanks to my mom and pop! They put a lot of elbow grease into it and when it was all said and done they said the might want it back!


Thanks guys! Let me know if you have any questions! I would love to hear comments from ya’ll!!

Love, Mar

DIY Pallet Head Board

Okay, okay. Re- purposing wooden pallet ideas are everywhere. AND I can’t stop pinning the ideas. I love a good DIY re-purposing project and what makes pallets even more attractive is that you can get them for free. This makes me very happy ( and my bank account). We live in a condo so we packed up our car with pallets and headed to our underground parking garage to get our hands dirty. So without further ado- here is my DIY pallet head-board tutorial.

First you need some pallets. So I went on the free section of Craigslist and found some not far from our house. (If you don’t have luck with that check your local businesses, (grocery stores/hardware stores) many have them and would be happy to get rid of them. We got about 5 pallets just to be sure. Second, you need to decide how big you want it. I didn’t want a lot of over hang on the side of my bed but I did want it to go all the way to the floor. So I just picked a spot on the wall that I thought was good. We ended up going with 61 inches tall and 62 inches wide. (We have a Queen size bed).

Then the work starts.

Image

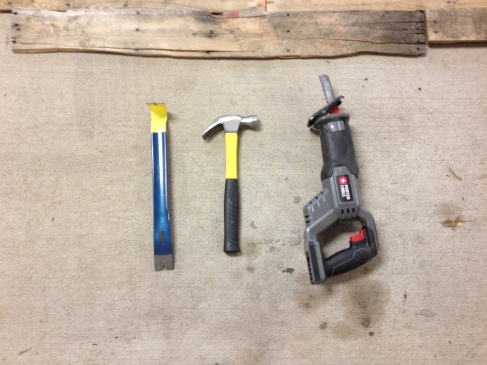
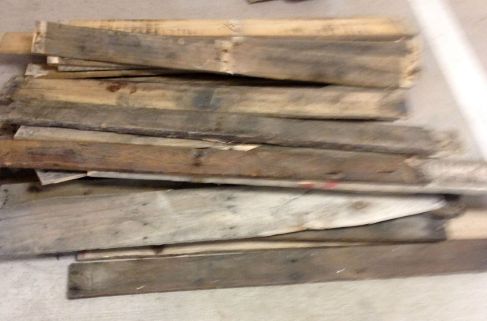
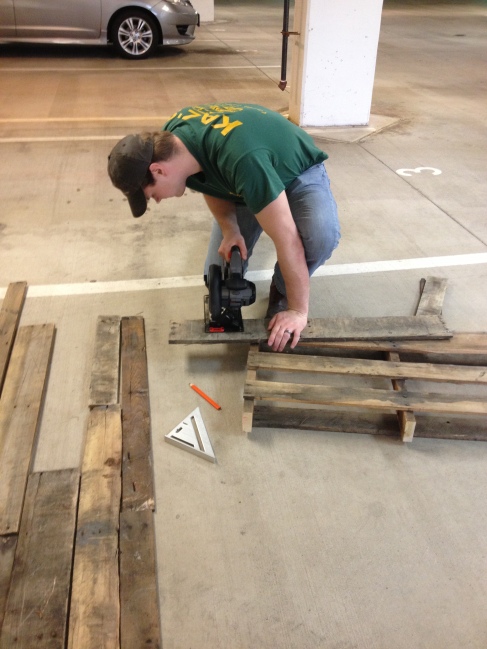
My husband liked this project because it meant a trip to Lowes for MAN TOOLS. He used the sawzall to take the pallets a part. He thought it was a better and easier method than using the crowbar to pry them apart. He took them all the part until we had a decent pile of boards to choose from.

Image

(sorry about the picture quality I am a first timer at this!)

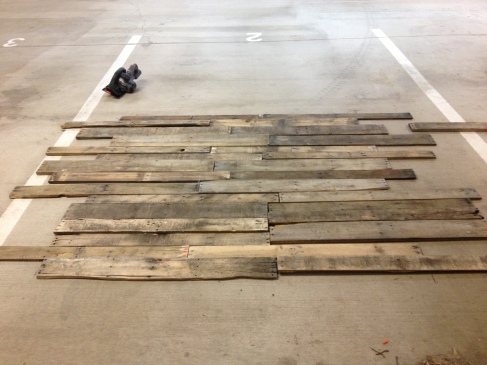
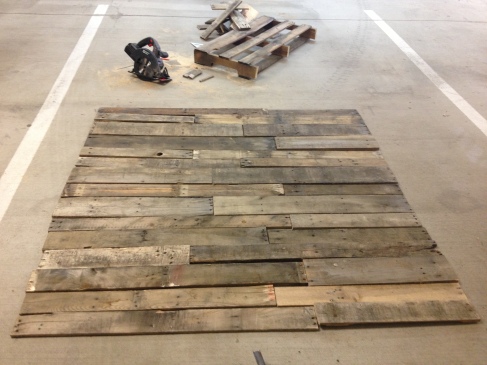
After this I sorted through the boards to find the ones I liked best. I was looking for the really beat up ones with good character. While I did that Rand measured 61 inches tall and 62 inches wide on the ground and marked the corners and we literally layed it out on the ground, like a puzzle. I didn’t want all the seams to line up so that’s why it looks a little jig-saw like.

Image

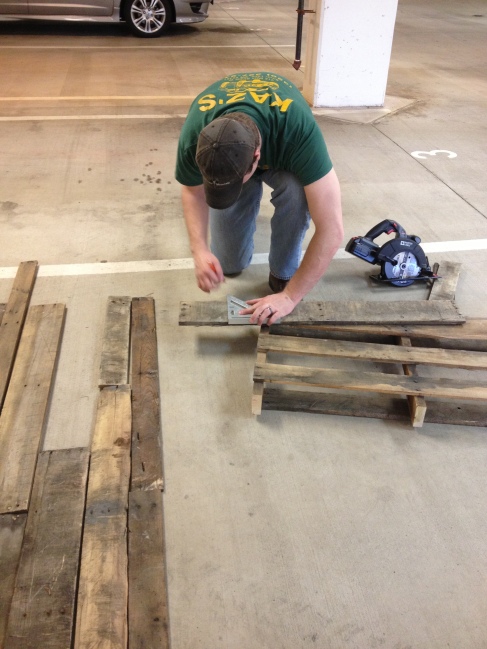
Then following the measurements we had marked on the floor we started cutting the excess over hang of the boards. And by we I mean Rand. I sat and drank a beer.

Image

Image

Once we were done cutting it looked like this! I was stressing over the fact that I didn’t like the boards that were going to be at the bottom and thought we should take more pallets apart. Rand kindly reminded me that no one will even see that part. If you are anything like me you think that it should turn out just like the other tutorials you see and it should be perfect. My advice let it go. It will be fine. That’s what I need to tell myself anyway. So i am just trying to help you out 🙂

Image

Now how to fasten it all together. We were a bit puzzled by this and here is why. The boards were obviously not all the same so some were thicker than others which made it not all lay flat the same way. Because I didn’t want the seams to all line up that also created a challenge-meaning we couldn’t run boards vertically over the seams and on the ends to keep it together. If I could do it over again I would miss match the seams but have 2 or 3 points where the seams do line up but doesn’t create a noticeable pattern. (I hope that makes sense). Then I would have run boards vertically over the seams and on the ends to create a sturdy headboard and bought colored nails and nailed it to the boards running vertically.

What we did: we used 1 1/2 in. screws and used scraps of the boards to piece each individual seam together. It worked fine and is maintaining well but it is a bit wobbly. Also, we added to thick pieces to the bottom to act as “legs.” I liked the rustic look and decided not to stain it. If you want to get a good idea of stained vs. non stained looks below are some blogs that include stained head boards.

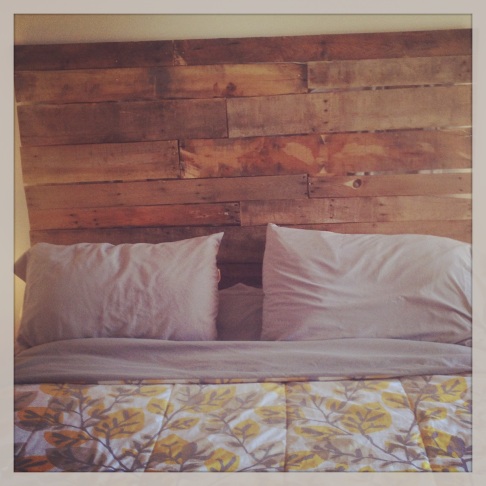
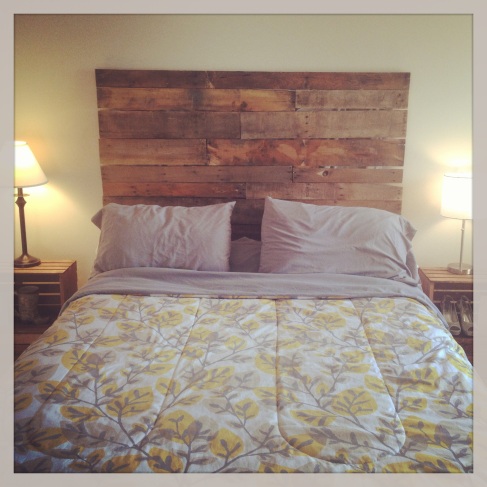
Here is the final product!

ImageImage

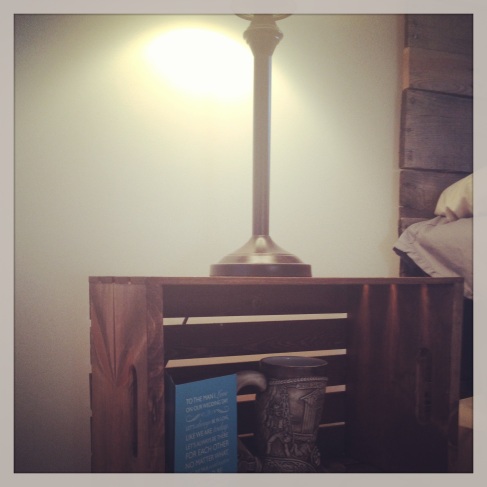
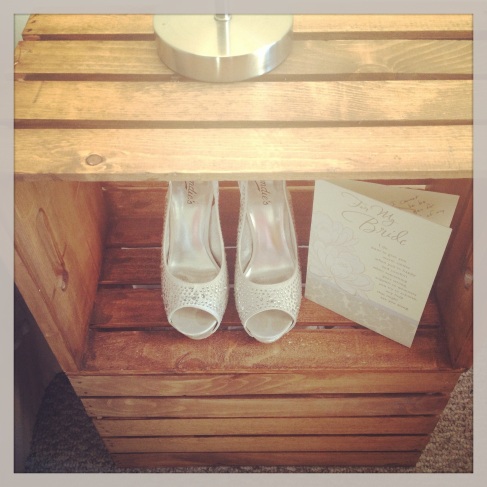
BONUS: Our night stands!! I wanted something functional that you can store stuff in; books, knickknacks etc. I got the crates at Michael’s Craft Store and used leftover stain from my parents house and Wah-Lah. In mine are the shoes from my wedding and the card my husband gave to me on my wedding day. On his side is a boot we found at a flea market while on our honeymoon and the card I gave him on our wedding day.

Image

Image


night stands 1

(Before and after the stain)

So what you need:

  1. 4-5 pallets based on the size of bed you are working with.
  2. 1 1/2 in. screws or nails- depending how you decide to fasten the back
  3. A sawzall and a circular saw to make life much easier
  4. A drill or hammer because of #2
  5. An adorable husband to do the work part- let him get new tools and he will be happy.

Also, here are a couple of resources I used in researching this project (in order of my favorites).

  1.  This particular blog has a great picture on how the secured the back.
  2.  If you are looking for different ideas on how to position it behind your bed- check these out 
  3. Here is an article on the concerns about chemicals used on pallets which is worth the read

Good luck! If you have any questions or tips for others please leave a comment!

Love,

Mar

Hello!!!!

I today decided I would just start. Write. Blog. I’m feeling inspired okay!

So for my first post I want to introduce you to the new place Rand and I call home. Northern Virginia- D.C. Metro. A big change for two kids who met at a college that is basically in a corn field in Minnesota. We relocated for Rand’s new position.

There is obviously lots to see in this area. Historical and nature wise.

Yesterday we went to Great Falls National Park for a little adventure. It was beautiful. It has a lot to offer as far as nature walks, the dam, trails, and of course the falls. We were only there for about 2 hours. We walked the trail and saw the sites. And we realized while we both really liked it, right now that’s not really our thing. It’s kind of like we got there we stared at the falls for a bit…. and then said can we go now? So right now we are trying to find and activity we both really enjoy.

But yesterday I was grateful for the experience with him and the new adventures God has provided us with.

Enjoy!

Image

I don’t know what my vision for this blog is. All I know is what inspires me, and that’s DIY, Vintage, Rustic, and beer and whiskey. So that’s what I can promise you, and I hope you like it. I am excited to share myself with you and see where this journey takes me!

What inspires you?

Love and Thanks,

Mrs. Wolfson